Having a high quality, properly sized logo is table stakes for site owners who plan to build a recognizable and trusted brand in their niche.
Despite the minimal effort required to get this right, I am always surprised by the number of homepages with sub-optimal logo proportions.
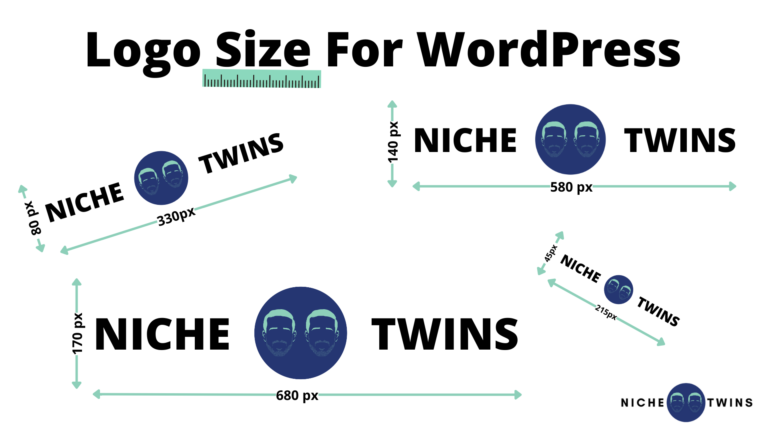
In many cases, the optimal logo size for WordPress is dictated by the theme you have selected. Navigate to Appearance > Customize > Site Identity to determine what’s recommended. If no optimal dimensions are provided, a logo size of approximately 250 x 100 px is generally accepted as the standard.
Below I outline the logo display size recommendations for some of the most popular WordPress themes. I then detail two methods you can use to quickly change your logo’s display dimensions.
Recommended Logo Size By Theme
First, it’s important to acknowledge that not all themes have a de facto recommended logo size.
Furthermore, when dimensions are provided, oftentimes they are the theme developer’s default logo display dimensions or even the maximum allowable dimensions.
Nevertheless, here are the dimension recommendations and default logo display sizes (pixel width by pixel height) for some of the most popular WordPress themes:
| WordPress Theme | Recommended Logo Size |
| GeneratePress | 250 x 50 px |
| Neve | 200 x 50 px |
| Divi | 93 x 43 px |
| Ocean WP | 164 x 45 px |
| Storefront | 470 x 110 px |
| Astra | 180 x 60 px |
| Spencer | 116 x 23 px |
| Elegant | 250 x 150 px |
Notably, even if no recommended size is provided, many themes will automatically resize your logo to fit the header.
Regardless of which theme you are using, I strongly suggest you use some trial and error.
Once you have selected a starting display size, be sure to view your logo on desktop, mobile, and tablet. If it appears “off” or not up to your standards, continue to adjust the display size until it appears optically optimal.
Pro Tip: Jared Bauman, a former pro photographer and now blogging at Weekend Growth, has a lot of experience working with images and logos on websites. “If possible, use a JPG for your logo. PNG’s are typically five times larger and can slow down your website.”
How To Change Your Logo Display Size In WordPress
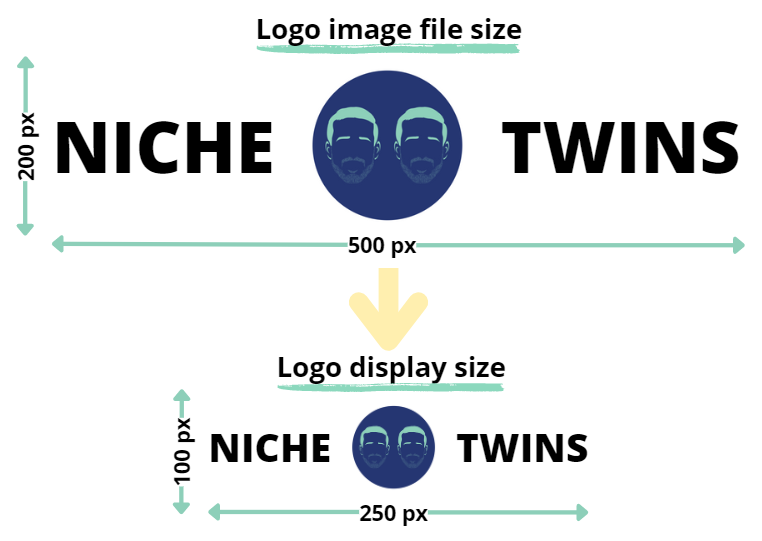
Something that’s important to remember is your logo image file size is not the same thing as your logo display size.
In fact, for most themes, it is best to upload an image file size that is twice the dimensions of your target display size. For example, if you are planning for a 250 x 100 px display size, you should upload an image file that is 500 x 200 px.

I’ve encountered far too many websites with low quality, blurry logos. Following this simple process will sharpen your image quality, making your logo look crisp and professional.
This is particularly important these days given that retina-ready logos, geared towards Apple devices with Retina Display, can now be added to many themes.
Method 1: Site Identity Theme Editor
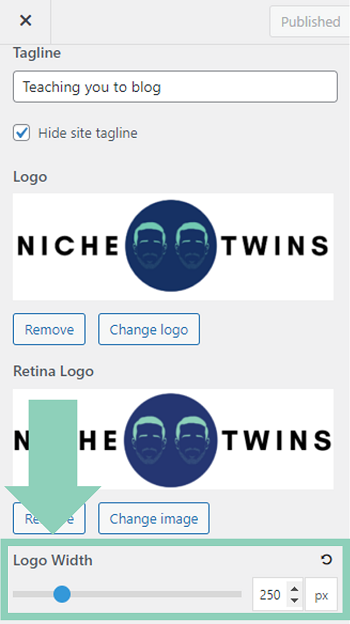
Once you are ready to adjust you logo display size, select Appearance from the WordPress main dashboard and then select Customize > Site Identity. Depending on your selected theme, instead of Site Identity you may see ‘Header’ or ‘Site Title & Logo’.
If you haven’t already uploaded the appropriately sized logo image size to your WordPress media library, you can do so now by selecting Change logo.
We use and recommend the Premium version of the GeneratePress theme, which also has a Retina Logo upload option. On the condition that your logo image file is twice the size as your planned display dimensions, you can safely use the same image file for both the standard Logo and the Retina Logo.

With your logo image file fully uploaded, you can now adjust the display width by using the slider or by entering your desired width in the numeric field.
You don’t need to worry about adjusting the display height as most themes will lock the aspect ratio, thereby preserving the original proportions of the image. This is important, otherwise your logo would appear distorted.
Method 2: Additional CSS
If your specific theme does not offer the ability to customize the logo dimensions within the theme editor, you can use the ‘Additional CSS’ method instead.
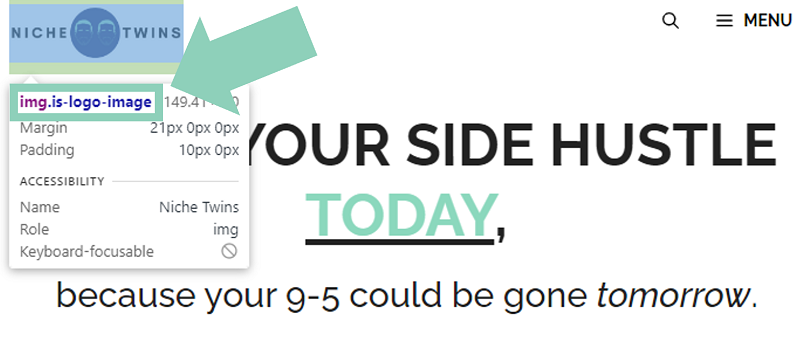
Head over to your website’s homepage, right click anywhere on the screen, and select Inspect. Next, within the Inspect pop-up window, click the cursor icon in the top left corner and then hover your mouse over your logo.

By doing so, the “CSS class” of the logo image file for your specific theme will appear. As you can see, our logo CSS class for GeneratePress is “img.is-logo-image”.
We can now add some custom code around this class to override and change the logo dimensions.
To do so, go back to the WordPress dashboard and select Appearance > Customize > Additional CSS. Finally, copy the code below and paste it into the Additional CSS open code field.
Be sure to replace “img.is-logo-image” with whatever CSS class is associated with your logo file.
img.is-logo-image {
max-height: 100px !important;
}
When you are done with the update, click Publish.
Once again, you’ll need to use some trial and error by incrementally changing the “100px” height to get your logo to appear exactly the way you want it.
Final Word
Many popular WordPress themes have a recommended or default logo size that you can use as a guide for your website.
If no dimensions are provided by your selected theme, start with a logo display size of 250 x 100 px. You can then make further adjustments from here as needed.
Most themes allow you to change the logo display size within the theme customizer. Alternatively, if this option is not available, you can add some custom CSS code to your site to make the adjustment.
Ultimately, regardless of the display dimensions you select, make sure you upload a logo image file with dimensions that are twice as large.


