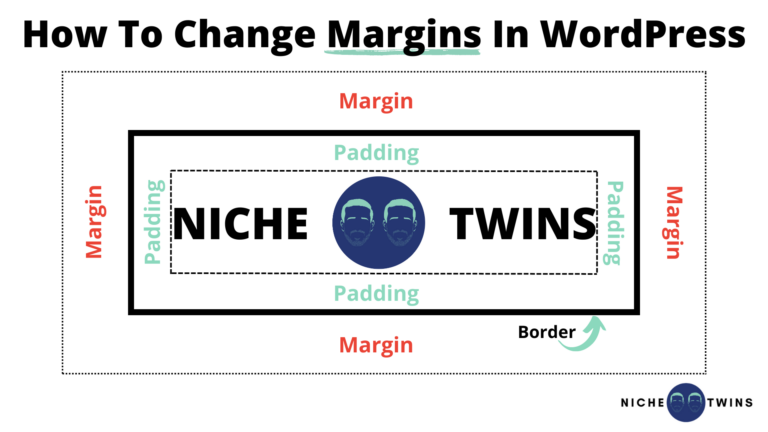
Adjusting the margins of a block, element, post, or page in WordPress can significantly improve the overall layout and design of your website.
In addition to ‘margin’, the other property that enables users to create space on their site is called ‘padding’.
These two properties are essentially the same thing, with one notable distinction. Margin creates space around or outside of an element, whereas padding creates space inside of an element.
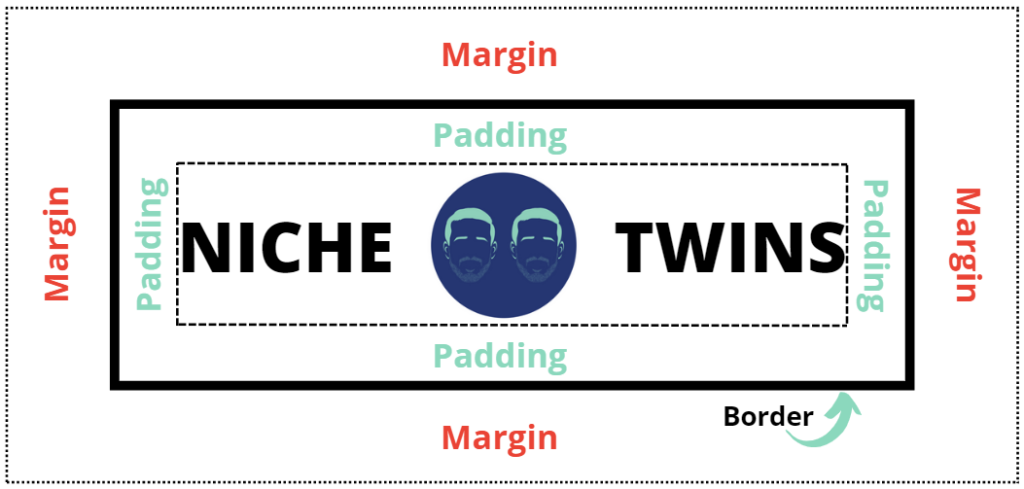
When used together, margin and padding enable comprehensive spacing customization. For the purposes of this article, we will focus on margin and the different ways you can manipulate it.
To change margins in WordPress site-wide, modify your layout settings within the theme customizer. For one-off, individual margin adjustments, it’s best to use the custom spacer blocks or block editor dimension controls instead. More experienced site owners may also choose to deploy custom margin CSS code.
Adjust Theme Customizer Layout Settings
For site-wide margin adjustments, the quickest and most user-friendly approach is to adjust your layout settings within the theme customizer.
From your WordPress main dashboard, start by selecting Appearance > Customize.
Depending on the WordPress theme you have chosen, the exact steps in this process may vary.
For our theme, GeneratePress Premium, we would then navigate to Layout > Container.
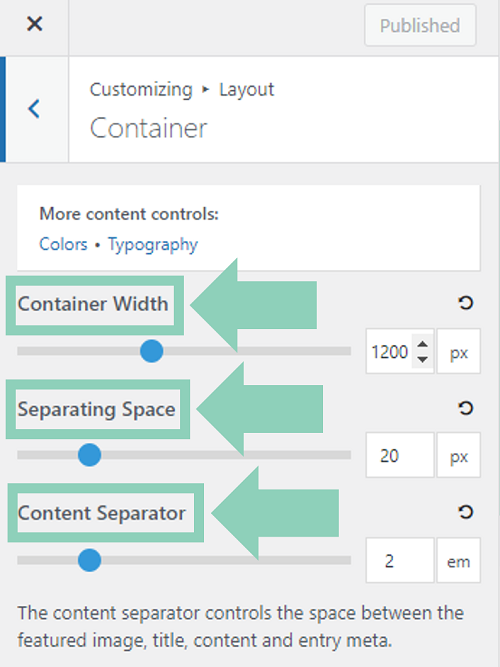
Within Container, GeneratePress users have the ability to adjust the margin for three different, site-wide elements:
- Container Width – adjusts the overall width of your site container. For example, you may choose to have your content take up 100% of a visitor’s display. Alternatively, you may choose to have margins established on the left and right side of the display.

- Separating Space – allows you to select the amount of space between your elements when your content layout is set to separate containers.
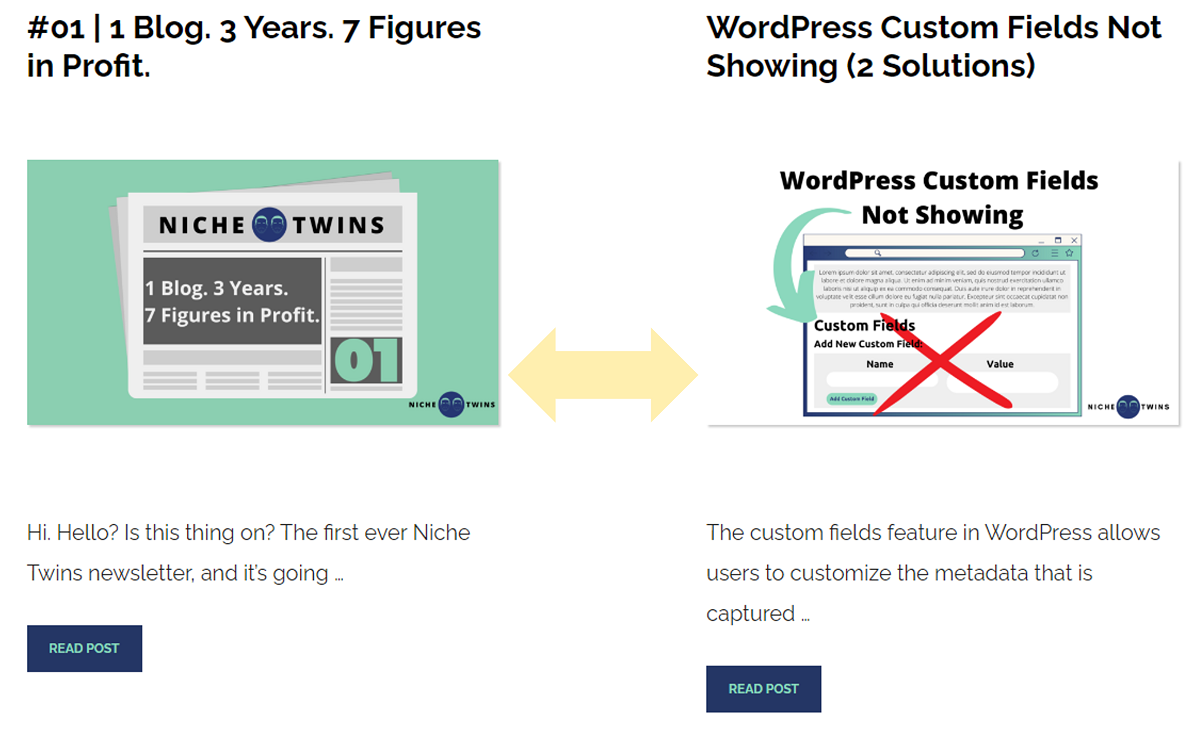
- Content Separator – allows you to adjust the space between the featured image, title, content and entry meta.

Notably, regardless of the specific theme you have activated, the site-wide margin settings that are available can most often be found under “Layout”. Conversely, the layout submenu options and the exact elements that you have spacing control over, are very theme dependent.
Insert Custom Spacer Blocks
What if you wish to adjust the margin between two blocks on an individual post or page, as opposed to site-wide?
To increase the margin between two blocks on a case by case basis, WordPress custom spacer blocks are a great option.
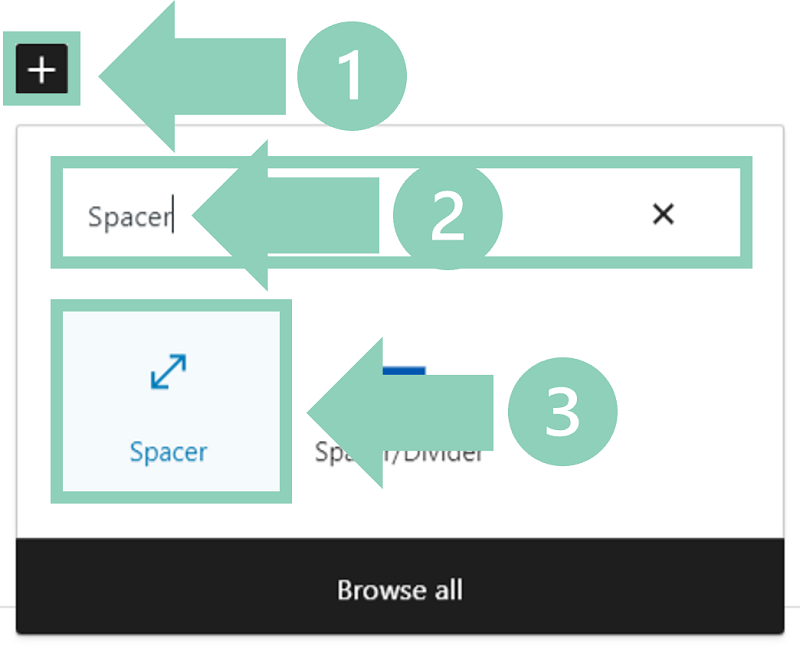
To insert a spacer block, click on the Add Block icon, search for “spacer”, and select it from the menu.
From here, you can adjust the height of the spacer by clicking on the bottom edge of the block and dragging your mouse.
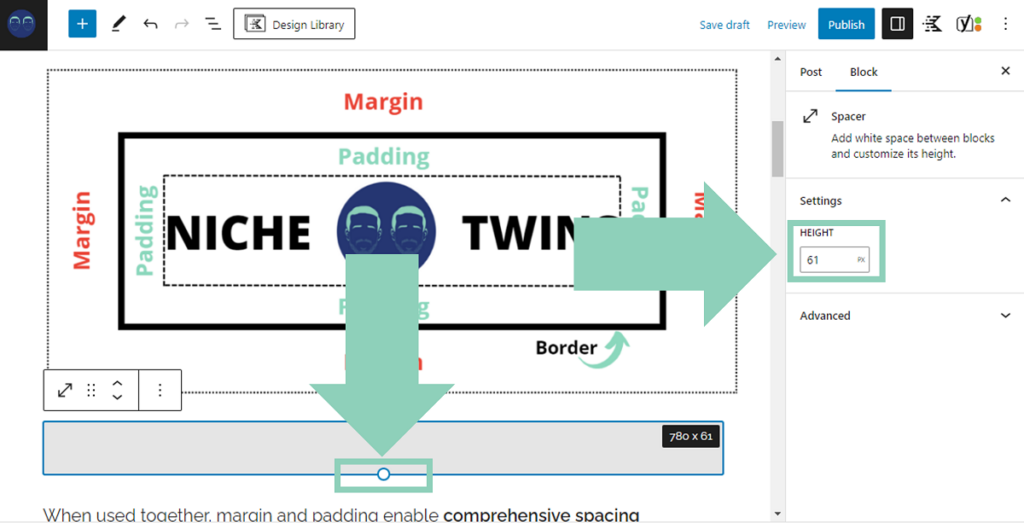
Alternatively, you can manually enter your desired dimensions in the height field, located under the block settings on the right side of your screen.
Block Editor Dimension Controls
Another good option when making individual margin adjustments, is using the WordPress block editor dimension controls.
It is important to mention that not all themes are compatible with block dimension controls. In fact, only block themes that allow full site editing can take advantage of this native WordPress functionality.
Once you’ve confirmed you are using a compatible theme, the dimension settings can be found in the Block Settings sidebar under the Dimension subsection.
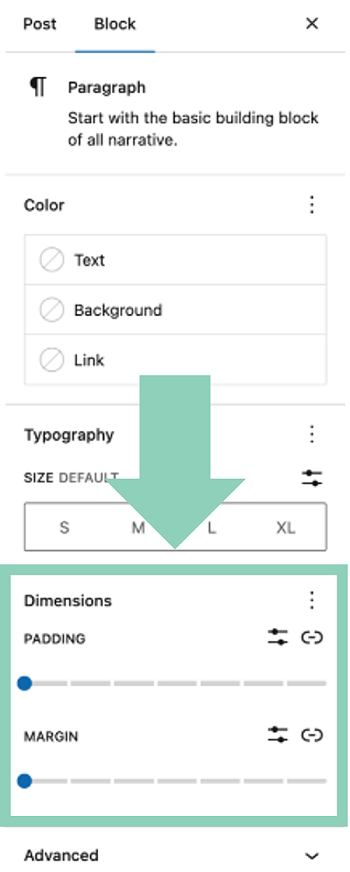
The extent of the control you have over the margin dimensions varies based on the type of block you have selected (i.e. button vs paragraph vs image).
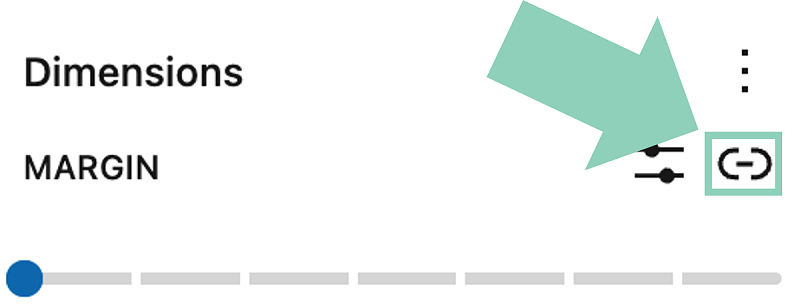
For example, fully enabled blocks allow you to either uniformly change the margin for all sides or set specific margins for each individual side of the block (top, bottom, left and right). To set individual side margins for a given block, you will need to first unlink the margin dimensions.
Custom Margin CSS
Finally, users who are fairly proficient in WordPress and comfortable with using a bit of code, may choose to add custom CSS to make their desired margin updates.
As previously mentioned, all themes are different and the number of possible elements and margin combinations are nearly endless. For this reason, there is no single piece of custom CSS code that will satisfy all users’ needs.
Fortunately, there are some incredible helpful resources out there that allow you to demo shorthand CSS margin code in real-time. By using these demos, you come to understand the exact impact a given line of code will have on your site’s margin, before deploying it.
MDN Web Docs has one of my favorite margin CSS demo environments. I highly recommend you check their free resource out.
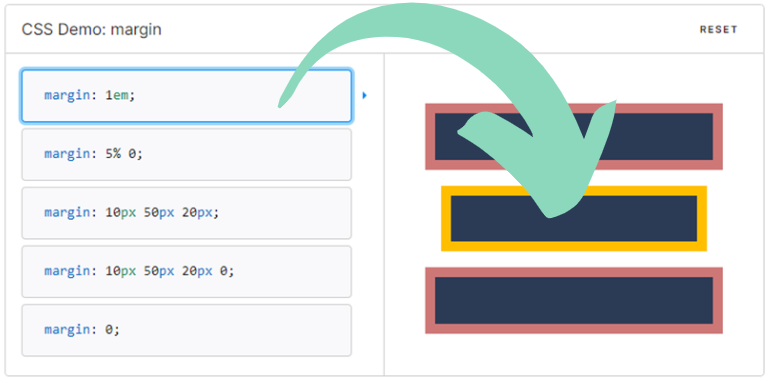
Once you have the demo margin dimensions just the way you want them, copy your desired code displayed beneath the demo environment.
Then navigate to Appearance > Customize > Additional CSS, paste your code into the code field, and click Publish.
Final Word
For site-wide margin adjustments in WordPress, modifying your layout settings within the theme customizer is usually the best way to go.
On the other hand, if you are looking to make one-off, individual margin adjustments, using the custom spacer blocks or block editor dimension controls are preferred.
The block editor dimension control are only available in block themes that allow full site editing. If you do not see the dimension controls, your selected theme is likely incompatible and this function will be unavailable to you.
For more seasoned WordPress users, or users willing to spend some of time demoing and learning margin CSS shorthand code, custom CSS is also an option.

